INVITEDbyRUK

Showing posts with label kids craft. Show all posts

Friday, December 16, 2011

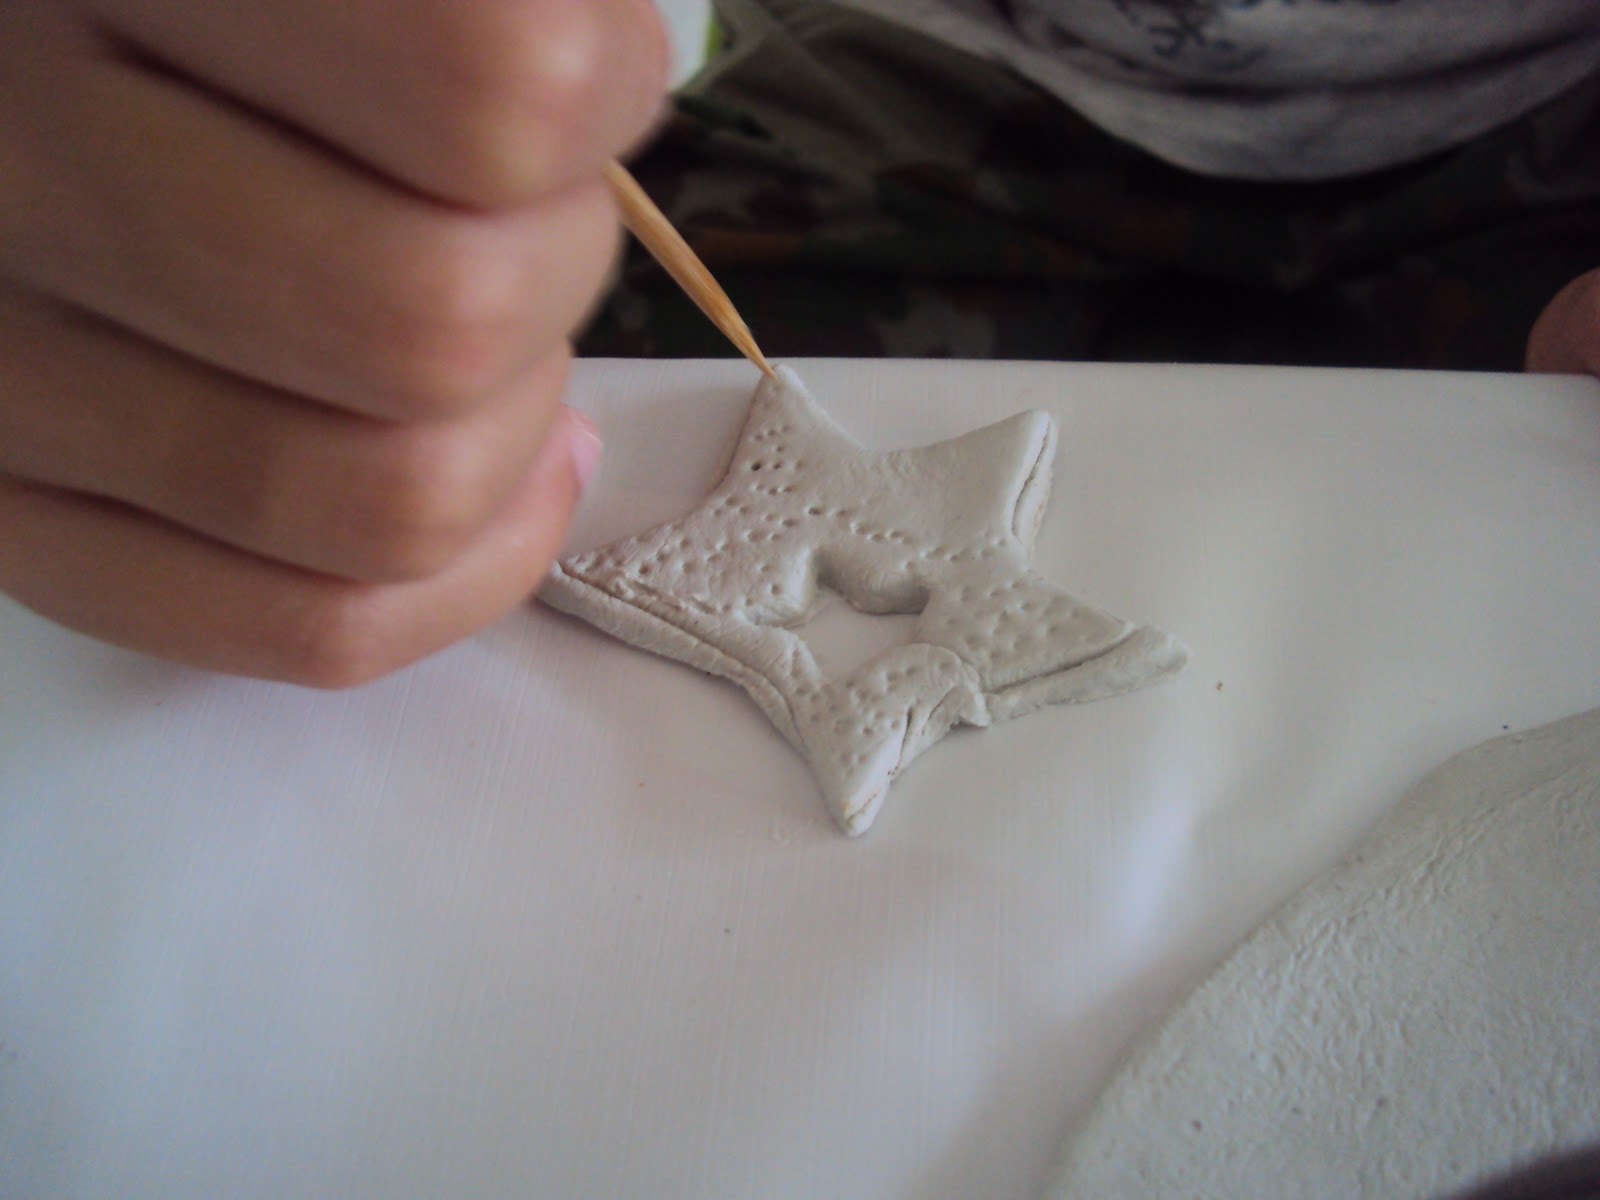
Clay Tags

Every year I want to make clay tags and never get to it... well finally we got ourselves organised and found some white air drying clay at our local newsagent. I grabbed all my Christmas cookie cutters for the kids, rubber stamps and some embossing plates to make our tags a little more interesting, and away we went. I must admit, it was a lot more difficult than I had expected it to be and they didn't turn out as nicely as I would have hoped for, but after speaking to a friend I think it may be the brand of clay we purchased that gave us problems. Anyway, the kids had a great time and were busy for hours with this one, so if you're looking for a holiday activity, I highly recommend this :)


Sunday, November 27, 2011

MERRY....

It's been a while since I posted anything, but I promise I've had good reason... study! Well it's finally over and Christmas has hit me (I think the day study was over was when the whole MERRY arrived), so I am happy to report I have started the crafts. First on the list are cards for the kids classmates. We usually do candy canes, but last year my boy had way too many candy canes in one day so I thought I'd try something else... crayons! and yes, I do know that kids like the candy canes better :) 

I'd been through the crayon box earlier in the year and saved some crayons for future crafts so decided we would test out the 'recycling' and mold them into stars for our cards. 

Find some old crayons

Chop them up into small pieces

Place pieces into OVENPROOF mold and bake at 150 degrees celcius for 5-10mins. I turned the light on and watched until the crayons were just melted so the colours didn't all run together to form an icky brown. Remove from over and set aside to cool completely before turning out of mold. 
 *we filled our mold with multi  coloured bits of crayon but you could do them in layers by colour if you wanted a different effect


Design your card and attach crayon as desired (I had to use sticky tape)... and DONE :)


 Hope preschoolers and year 2 kids like these :)


Friday, April 15, 2011

Shiny Eggs

At Spotlight today I decided to grab a few things for an Easter craft I thought of. They came out prettier than I expected :). Be warned though, this activity does take some patience, but if you want to keep the kids busy for a while it's a good one! They will require supervision as there are sharp objects involved, but Miss almost 4 managed to do it without getting hurt - great for fine motor skills.
MATERIALS: styrofoam eggs, sequins, pins (we used Birch- Sequin & Bead Pins). 
INSTRUCTIONS: simply pin the sequins onto the styrofoam eggs until completely covered, or make a pattern... you may want to take a break in between (like my kids did lol).

sequins and pins in our paint tray

Mr 7- starting his pattern

trying to claim mummy's work!

Miss 3 and her efforts :)

our 3 completed eggs- they look prettier in person


Saturday, April 2, 2011

EASTER rehatched

I know, I'm slack with my blogging. Parties, invites, felt food, study and my little family keep me so busy these days! BUT I can't NOT post something for Easter... so a re-hashing (rehatching) of our previous years Easter crafts/activities is what we have for you :)

An Easter tree!
Made from twigs we spray painted and stuck into an easter pail then covered in wool. The eggs were bought but you could make them by covering styrofoam eggs with tissue paper.

Easter Cupcakes
My son, who was 3, decoarted these (the icing looks odd I know!) but all you need are a packet of small hard shell easter eggs to decoarte some cupcakes with.

Bunny Ears

Window Decorations
Blank piece of paper, draw patterns onto it using wax candle. Paint over using diluted food colouring and then cut into egg shapes. The are so pretty with the light shining behind them and so simple to make.

String Easter Eggs
This is my favourite and they are on our table again this year, we just revamped them by adding some colourful ribbon bows :)
Blow up a water balloon. Cut lengths of string and place into a bowl of PVA glue. Coat string in glue and wrap around water balloon. Keep wrapping around balloon until you have a complete egg. Leave to dry in the sun and then pop the balloon and you have a lovely string egg to decorate with. We dyed our white string using food colur to get our coloured eggs, but you could purchase coloured string instead.


Egg Biscuits
Kids favourite this tiime. Arnotts Arrowroot biscuits, some icing (we love Betty Crocker Vanilla) and some more icing or tubes of food gels to decorate. Easy, fast, and yummy... and kids go crazy with excitement decorating their easter eggs.

Face-washer Bunnies
Lay face-washer out in a diamond, roll up starting from one corner. Fold in half, then half again and wrap a rubber band around a samll section to create the face. Pull top so that 'ears' stick out. Glue on some googly eyes and a pom pom for a nose, you can also glue a pom pom to the back for a tail. Place a chocolate egg in the back of your bunny and give to a friend HAPPY EASTER!

Sunday, February 13, 2011

MONSTER PARTY

Mr 7 asked for a monster themed party this year and I happily agreed thinking "great, monster will be easy right?"... hmmm, not so much! I am lucky enough to own a Cricut and he chose 2 designs from it for his invitations so I based everything on that :)

then I decided a matching bunting, cupcake picks and shirt would work well too... I was happy with how they turned out... particularly the matching cupcake picks! The great thing about creating your own party supplies is that you can match all the colours exactly how you want to and the end result is great :) I made a streamer curtain to hide the view of our kitchen, but it added alot of colour too!

our party food consisted of:
monster body parts (marinated chicken pieces), monster boogers (caramel popcorn), monster eyeballs (gumballs), baby monsters (rice crispies), monster pops (cake pops), monster tongues (Fizzers), monster cupcakes, monster bits (fruit kebabs), monster slime (jelly), monster fingers with blood (hotdogs with sauce


I was going to leave our cake as this cupcake tower but OH NO! Mr 7 would not have that... "muuuum, I KNOW you can make a cool monster cake". Yeah, little did he know that for weeks I was searching and trying to think of what to make and was just coming up blank!! I was kind of getting stressed the night before as I started baking, but Mr7 inspired me with "How about a monster with his mouth open and lollies inside?". I'm not sure it was what he pictured, but it was the best I could do with a lack of inspiration and talent in the cake department... and he seemed happy in the morning when he saw it :)


our drinks were held in monster cups that guests had to design themselves... we just pre-stuck the googly eyes on

How about what to do with 15+ little monster guests??! Our house isn't big, but we have a pool, so a swim was a must (and Mr7's birthday falls always on a HOT summer day), and of course we had to have some craft in there so we ordered these great DIY monster magnets and foam beads from Oriental Trading which kept the kids busy for a while.


and we made this pinata *TIP* dont do more than 2 layers of paper mache... our pinata required surgery to help bust him after 10+ minutes of the kids trying LOL

our pass the parcel contained this cute plush toy I found at Target

and we had a stationary set prize for our 'pin the eye on the monster' game

using our beloved Cricut, we made our own party bags, and again found great monster party favours for them at Oriental Trading, plus the usual lollies and stickers

I HAD to use the Cricut to make his birthday card too of course

Mr 7 had a great time and I have to say, so did I... MONSTERS were more fun than I thought ;)