INVITEDbyRUK

Showing posts with label food. Show all posts

Friday, April 29, 2011

Mango Meringues.... super easy!

While everyone else is watching Kate and Will's big day, I decided to occupy myself with some experimental baking. *I love weddings but the media coverage over the last few weeks killed it for me so in protest I REFUSE to watch it!*


I had left over egg whites from our dinner of Cannelloni tonight and instantly thought I'd make some meringues, but with a twist. I found this recipe for MERINGUE KISSES COOKIES and adapted it a little to make some mango flavoured meringues as was voted by the rest of the family, even though I wanted strawberry or lemon AND I'd like to add that I think MY flavour choices would have been even yummier!


INGREDIENTS:
4 egg whites
1/3 cup caster sugar
1 packet flavoured jelly of your choice
pinch of salt
pinch of Cream of tartar

METHOD
preheat over to 130 DEGREES CELSIUS
line baking tray with greaseproof paper
in a clean, dry bowl, mix eggs whites and pinch of salt and cream of tartar. Once eggs whites have become glossy and form peaks, start adding sugar and jelly crystals SLOWLY (about a tablespoon at a time). Continue to mix on highest speed, until all the sugar and jelly crytals have dissolved. You can check this by placing a small amount of mix on your fingers and rubbing them together to make sure it is smooth and you cant feel any grains of sugar. Continue to mix until the egg whites and sugar form stiff peaks.

Fill a piping bag with the mixture and pipe 12 small circles onto your baking paper. I chose to pipe into small cup cake patties for something pretty, but the little piped 'kisses' were cute too. If you want, add sprinkles. Put into oven and bake for 25-30mins (less time will result in a chewier meringue as opposed to the longer baked that are crispy).

Serve with some cream and fresh fruit, or scoff down by itself... YUMMMMMMM!

Saturday, April 2, 2011

EASTER rehatched

I know, I'm slack with my blogging. Parties, invites, felt food, study and my little family keep me so busy these days! BUT I can't NOT post something for Easter... so a re-hashing (rehatching) of our previous years Easter crafts/activities is what we have for you :)

An Easter tree!
Made from twigs we spray painted and stuck into an easter pail then covered in wool. The eggs were bought but you could make them by covering styrofoam eggs with tissue paper.

Easter Cupcakes
My son, who was 3, decoarted these (the icing looks odd I know!) but all you need are a packet of small hard shell easter eggs to decoarte some cupcakes with.

Bunny Ears

Window Decorations
Blank piece of paper, draw patterns onto it using wax candle. Paint over using diluted food colouring and then cut into egg shapes. The are so pretty with the light shining behind them and so simple to make.

String Easter Eggs
This is my favourite and they are on our table again this year, we just revamped them by adding some colourful ribbon bows :)
Blow up a water balloon. Cut lengths of string and place into a bowl of PVA glue. Coat string in glue and wrap around water balloon. Keep wrapping around balloon until you have a complete egg. Leave to dry in the sun and then pop the balloon and you have a lovely string egg to decorate with. We dyed our white string using food colur to get our coloured eggs, but you could purchase coloured string instead.


Egg Biscuits
Kids favourite this tiime. Arnotts Arrowroot biscuits, some icing (we love Betty Crocker Vanilla) and some more icing or tubes of food gels to decorate. Easy, fast, and yummy... and kids go crazy with excitement decorating their easter eggs.

Face-washer Bunnies
Lay face-washer out in a diamond, roll up starting from one corner. Fold in half, then half again and wrap a rubber band around a samll section to create the face. Pull top so that 'ears' stick out. Glue on some googly eyes and a pom pom for a nose, you can also glue a pom pom to the back for a tail. Place a chocolate egg in the back of your bunny and give to a friend HAPPY EASTER!

Saturday, February 5, 2011

Cake Pops

Hmm, so its been a while huh? I didn't quite get to my Christmas posts, but maybe this can make up for it??

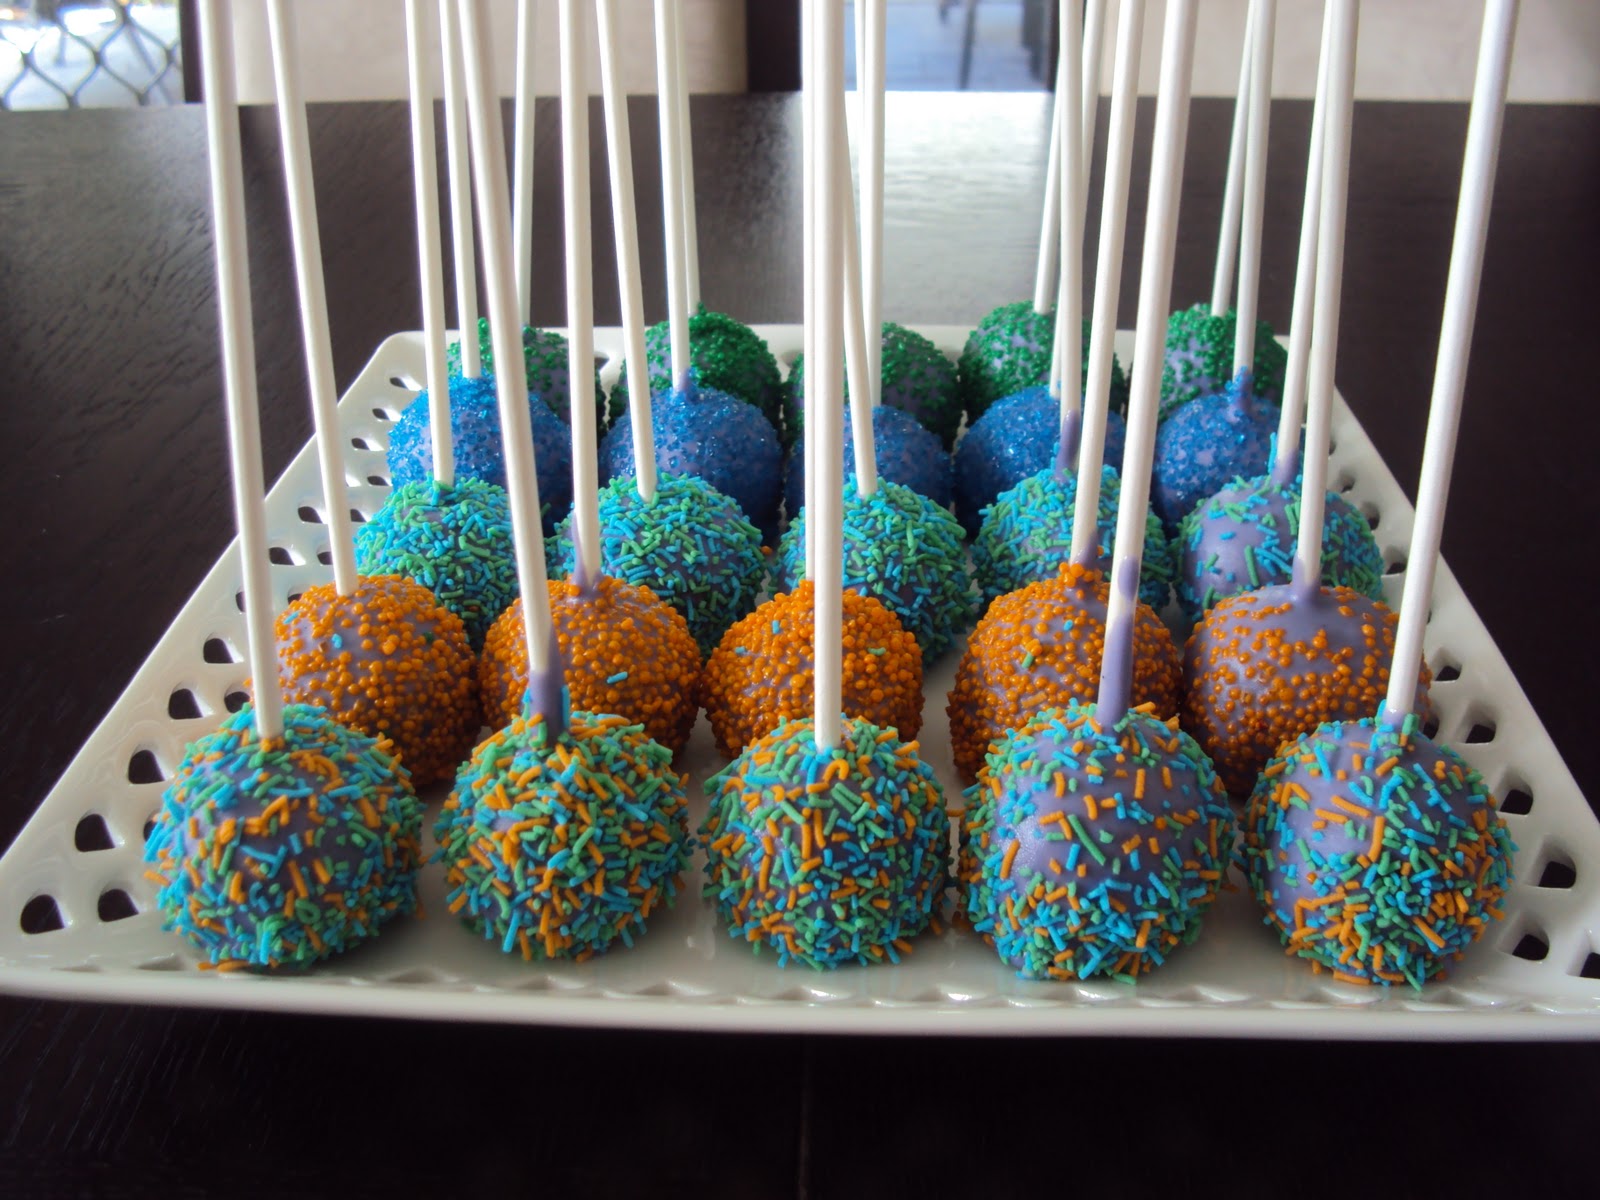
I LOVE kids parties if you haven't already guessed and have seen so many posts and gorgeous inspiration boards featuring cake pops, and every time I see them I think "I must try that". This girl loves to talk inspired me do make them again in October, but I never got around to it, so with it being Mr 6's soon Mr7 birthday tomorrow I thought I'd test them out for him to take to class and celebrate.

I got my instructions from Little Miss Momma and basically followed them. I used a Green's Chocolate cake mix and baked my cake then after it cooled, crumbled it with my fingers I found it quite therapeutic!

Next I added half a tub of the Betty Crocker chocolate frosting and made sure the consistency was right to hold the whole thing together in a big ball.

I used about a tablespoon of the mix to roll smaller balls and ended up with 45. I put them into the fridge for a few hours, but it's recommended that you put them into the fridge overnight... we were impatient and pressed for time.

I melted a whole packet of Nestle White Chocolate Melts and added some POWDERED colouring to make mine purple. If you're looking for powdered colouring and lollipop sticks I got mine from Inspired by Chocolate. DO NOT ADD LIQUID COLOURING as this will ruin your chocolate and you wont be able to use it. I found this out the hard way at Halloween when I didn't think and added a few drops of green food colouring to my melted white chocolate= disaster!. Adding the powdered colouring before melting helps the colour disperse more evenly without little lumps so you don't end up with "streaky" coloured chocolate unless you want a marbled look I guess :)


powder colouring

purple chocolate!


Next take your lollipop stick and dip it in some chocolate then poke into your cake ball.


Dip your cake pop into the chocolate mix and twist around allowing excess chocolate to drip off. 

We had a selection of 'sprinkles' to choose from and used a spoon to sprinkle them on top of the coated cake pop. I imagine in winter you'd have to be fast doing this before the chocolate hardens, however, with it being 30+degrees today yes I am mad and baked the cake this morning too I had ample time to do this within. The place to 'dry' and harden. I was planning on using a styrofoam block to stick the pops into for this, BUT turns out we didn't have one, so I decided to just dry them upside down. Place in fridge until ready.


And.... TA DA! Our cake pops are all ready for school tomorrow...

BUT I did have to sample one... WARNING they are super sweet!! YUM!


Thursday, August 12, 2010

Coloured Sugar

I made coloured sugar today to decorate some cupcakes. I wasn't sure how much I'd need, but I made way more than I needed for the cupcakes so had to think up another use... and cocktails came to mind :) I made the kids sugar rimmed galsses for their mocktails with juice and lemonade and then by accident tipped some sugar into the glass which changed the colour of the drink and made it really pretty! I LOVE when things like that happen... mistakes that look good :).
All you need is some white sugar, a zip lock bag and a few drops of food colouring mixed in. Seal the bag and massage the sugar until all the food colour is massaged into it. I'm thinking this could come in handy when the kids have eaten all the sprinkles and I go to decorate something!! Sugar keeps for ages too so I'll pull it out when soime cookies are made, and possibly to sprinkle on ice cream treats for them :)

Marshmallow & coloured sugar flowers on cupcakes


see the blue at the bottom? Looked nicer in the light but you get the picture.