
I LOVE kids parties if you haven't already guessed and have seen so many posts and gorgeous inspiration boards featuring cake pops, and every time I see them I think "I must try that". This girl loves to talk inspired me do make them again in October, but I never got around to it, so with it being Mr 6's soon Mr7 birthday tomorrow I thought I'd test them out for him to take to class and celebrate.
I got my instructions from Little Miss Momma and basically followed them. I used a Green's Chocolate cake mix and baked my cake then after it cooled, crumbled it with my fingers I found it quite therapeutic!

Next I added half a tub of the Betty Crocker chocolate frosting and made sure the consistency was right to hold the whole thing together in a big ball.

I used about a tablespoon of the mix to roll smaller balls and ended up with 45. I put them into the fridge for a few hours, but it's recommended that you put them into the fridge overnight... we were impatient and pressed for time.

I melted a whole packet of Nestle White Chocolate Melts and added some POWDERED colouring to make mine purple. If you're looking for powdered colouring and lollipop sticks I got mine from Inspired by Chocolate. DO NOT ADD LIQUID COLOURING as this will ruin your chocolate and you wont be able to use it. I found this out the hard way at Halloween when I didn't think and added a few drops of green food colouring to my melted white chocolate= disaster!. Adding the powdered colouring before melting helps the colour disperse more evenly without little lumps so you don't end up with "streaky" coloured chocolate unless you want a marbled look I guess :)


powder colouring

purple chocolate!
Next take your lollipop stick and dip it in some chocolate then poke into your cake ball.


Dip your cake pop into the chocolate mix and twist around allowing excess chocolate to drip off.

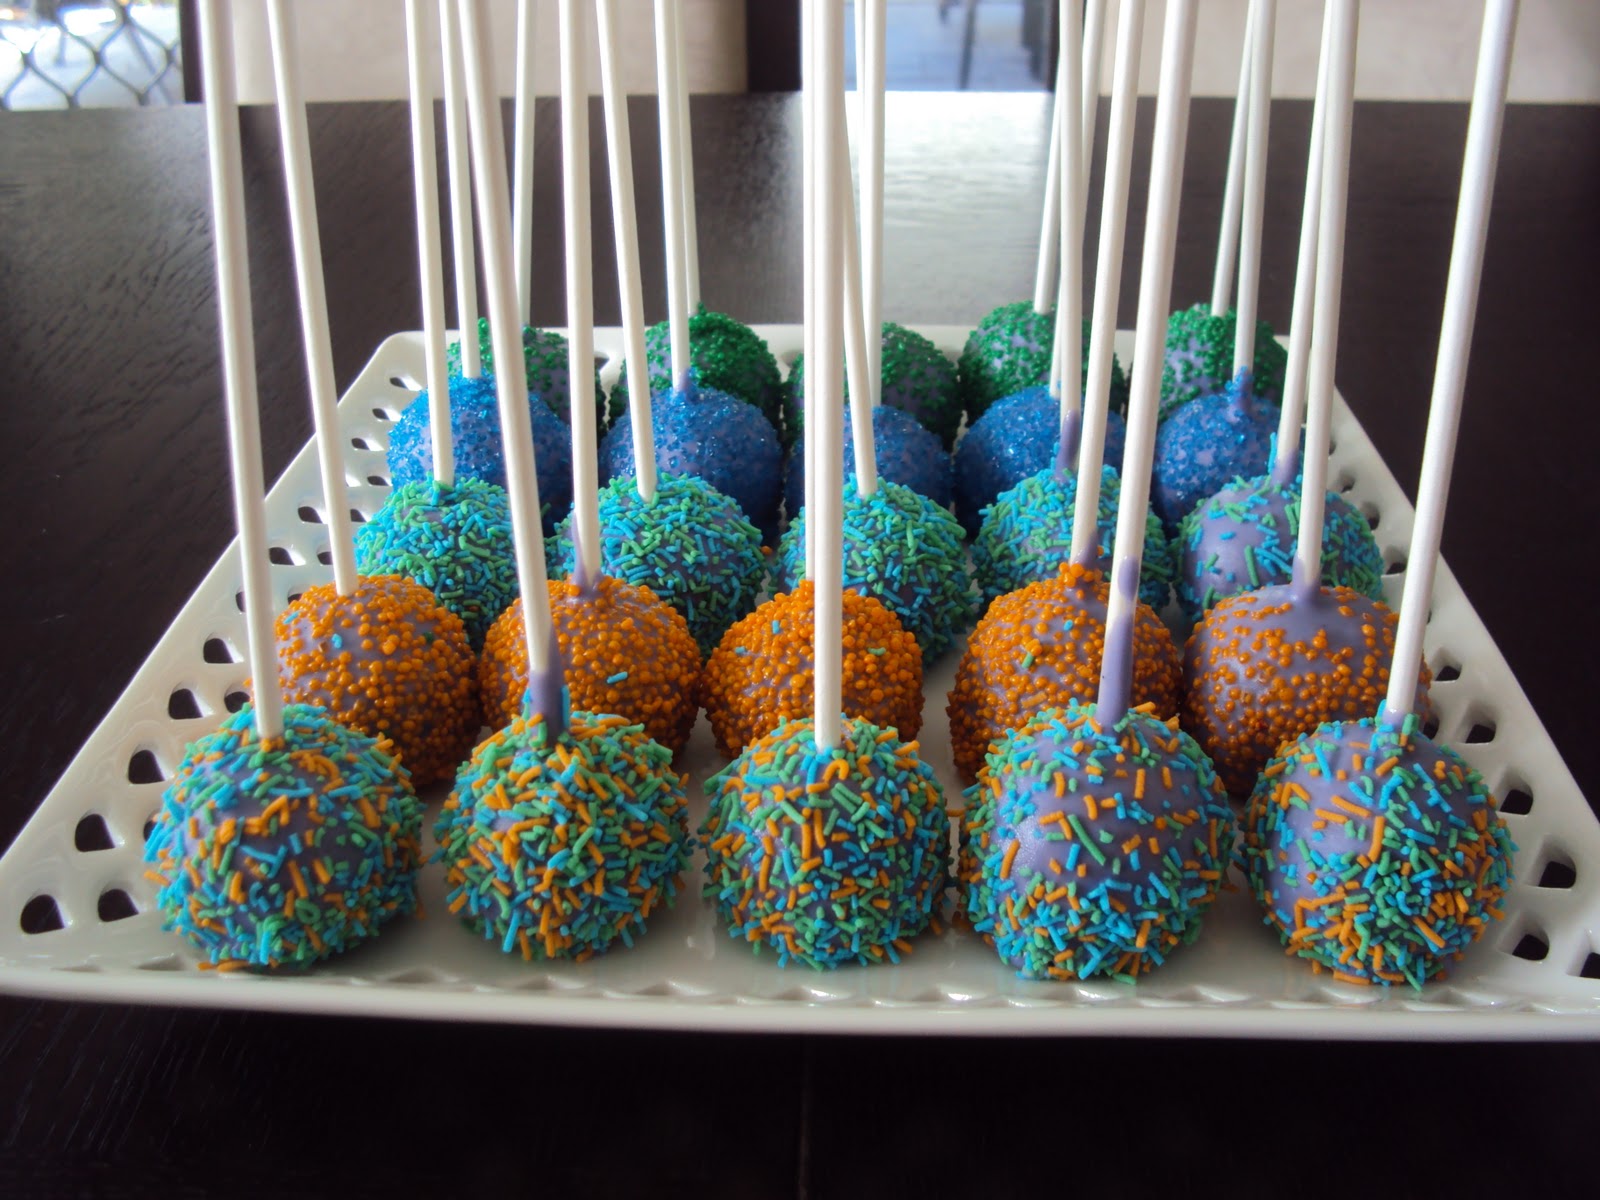
We had a selection of 'sprinkles' to choose from and used a spoon to sprinkle them on top of the coated cake pop. I imagine in winter you'd have to be fast doing this before the chocolate hardens, however, with it being 30+degrees today yes I am mad and baked the cake this morning too I had ample time to do this within. The place to 'dry' and harden. I was planning on using a styrofoam block to stick the pops into for this, BUT turns out we didn't have one, so I decided to just dry them upside down. Place in fridge until ready.


And.... TA DA! Our cake pops are all ready for school tomorrow...
BUT I did have to sample one... WARNING they are super sweet!! YUM!

No comments:
Post a Comment