INVITEDbyRUK

Saturday, February 5, 2011

Cake Pops

Hmm, so its been a while huh? I didn't quite get to my Christmas posts, but maybe this can make up for it??

I LOVE kids parties if you haven't already guessed and have seen so many posts and gorgeous inspiration boards featuring cake pops, and every time I see them I think "I must try that". This girl loves to talk inspired me do make them again in October, but I never got around to it, so with it being Mr 6's soon Mr7 birthday tomorrow I thought I'd test them out for him to take to class and celebrate.

I got my instructions from Little Miss Momma and basically followed them. I used a Green's Chocolate cake mix and baked my cake then after it cooled, crumbled it with my fingers I found it quite therapeutic!

Next I added half a tub of the Betty Crocker chocolate frosting and made sure the consistency was right to hold the whole thing together in a big ball.

I used about a tablespoon of the mix to roll smaller balls and ended up with 45. I put them into the fridge for a few hours, but it's recommended that you put them into the fridge overnight... we were impatient and pressed for time.

I melted a whole packet of Nestle White Chocolate Melts and added some POWDERED colouring to make mine purple. If you're looking for powdered colouring and lollipop sticks I got mine from Inspired by Chocolate. DO NOT ADD LIQUID COLOURING as this will ruin your chocolate and you wont be able to use it. I found this out the hard way at Halloween when I didn't think and added a few drops of green food colouring to my melted white chocolate= disaster!. Adding the powdered colouring before melting helps the colour disperse more evenly without little lumps so you don't end up with "streaky" coloured chocolate unless you want a marbled look I guess :)


powder colouring

purple chocolate!


Next take your lollipop stick and dip it in some chocolate then poke into your cake ball.


Dip your cake pop into the chocolate mix and twist around allowing excess chocolate to drip off. 

We had a selection of 'sprinkles' to choose from and used a spoon to sprinkle them on top of the coated cake pop. I imagine in winter you'd have to be fast doing this before the chocolate hardens, however, with it being 30+degrees today yes I am mad and baked the cake this morning too I had ample time to do this within. The place to 'dry' and harden. I was planning on using a styrofoam block to stick the pops into for this, BUT turns out we didn't have one, so I decided to just dry them upside down. Place in fridge until ready.


And.... TA DA! Our cake pops are all ready for school tomorrow...
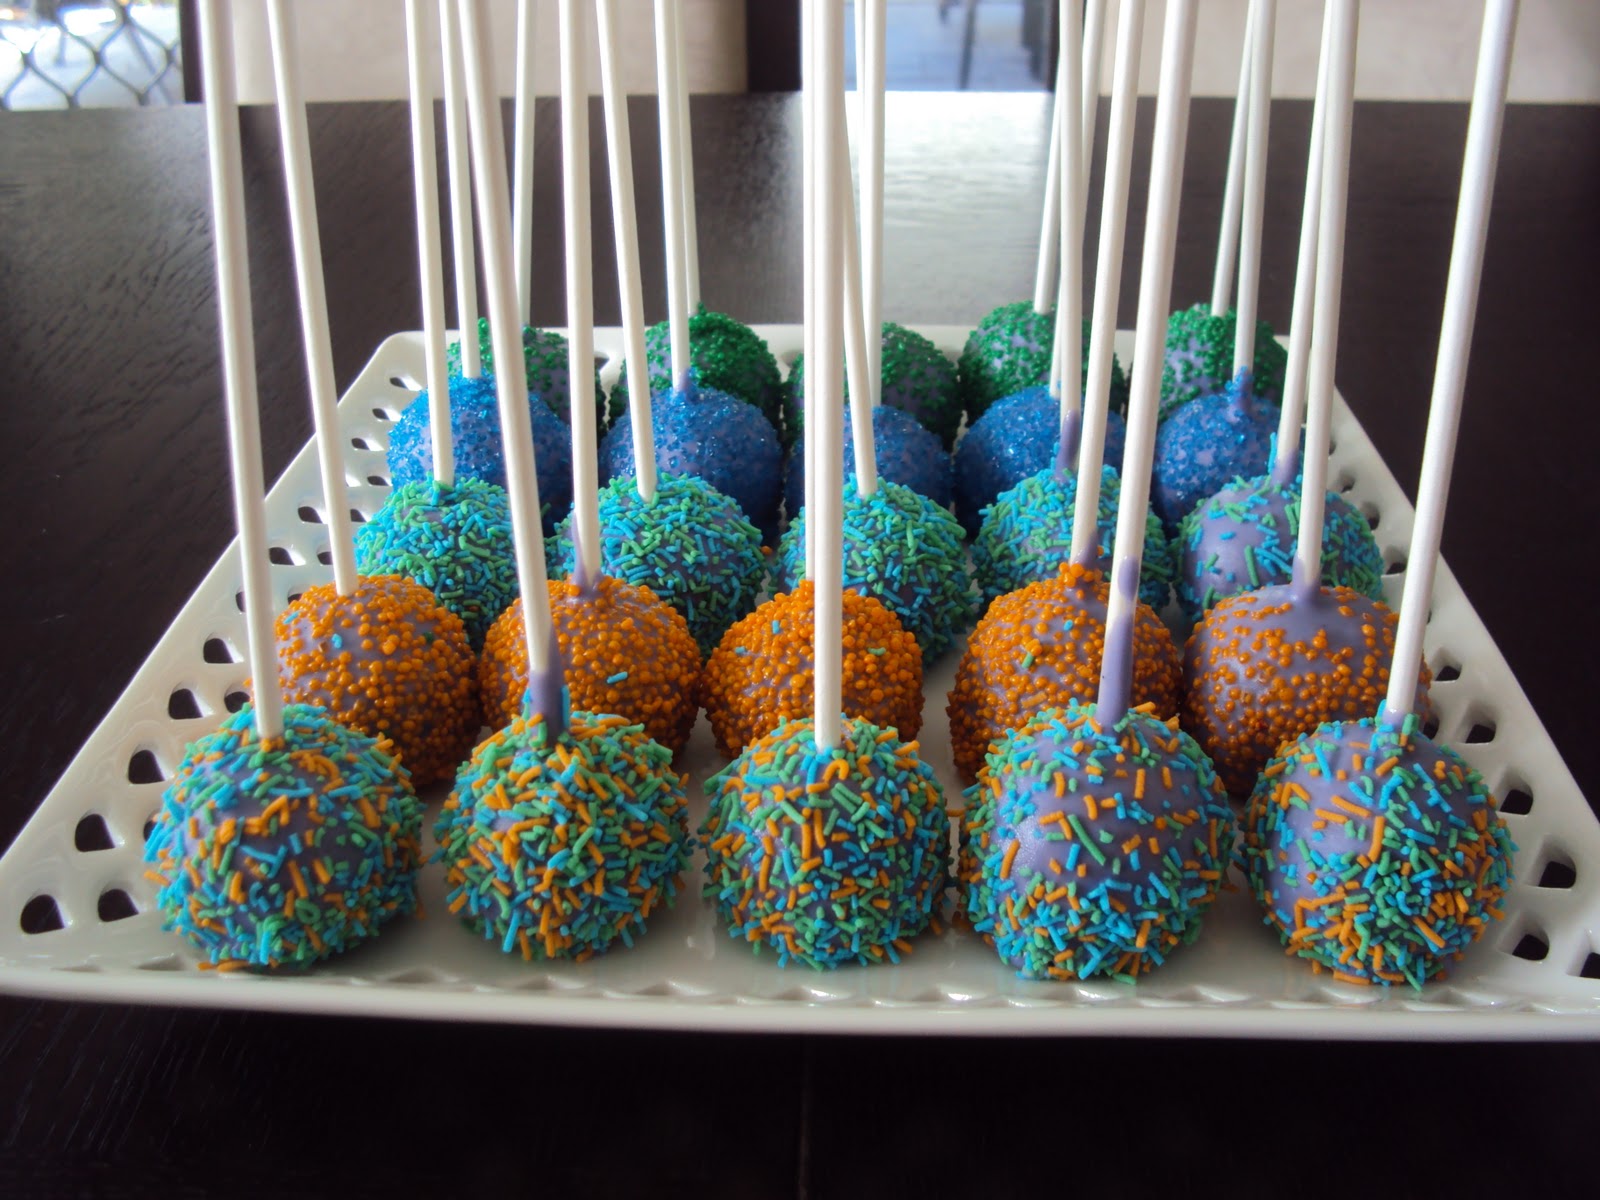
BUT I did have to sample one... WARNING they are super sweet!! YUM!


Saturday, November 6, 2010

Christmas Bells

7 WEEKS TIL CHRISTMAS PEOPLE so it will be Christmas crafts from here on until then :)

We collected these large gumnuts off the side of the road a few weeks back. When we got them I had full intention of using them for Christmas as I like an Aussie touch to things :) Today we checked that they were all open (some were still green and hadnt bloomed when we found them, but left outside the middles just dry and fall out) and we used the back end of a paintbrush to poke into it and clean out any seeds. Then we painted them (the natural look is really pretty too but my kids love paints), sprinkled some glitter, tied/glued bows on and lastly glued the 'jingle' part of our bell and we had a pretty little bell. You could tie thin gold cord onto the bow to hang it on a tree, add a small tag for kids to give their friends for Christmas, glue to a ring for napkin rings, glue a mini peg to it to hold a placecard, or string some together for a festive garland... you decide.


'opened' gumnut


I did only set out 'Christmas' colours of gold, silver, white, red, green, and sparkle paint... but Miss 3 quickly discovered she could make her favourite colour PINK lol


'jingle' glued inside with hot glue gun

our finished bells

I got the 'jingle' parts from Spotlight for under $2 a packet

Tuesday, October 26, 2010

Halloween Placemats

We went in search of Halloween placemats and couln't find any we liked they were all so gory and gross to me so we decided to make some. We cut our bats out from black cardboard, glued them to white paper and then laminated them. We added some googly eyes, using double sided tape, on top of the laminated bat. They are very simple but the kids have played with them since we made them adding details and changing the scene with whiteboard markers... have a go, decorative and functional! :) Witches, pumpkins, spiders and ghosts are some other ideas you might want to try out.

Plain finished placemat


Mr 6's creation today

Mine (yes I am no artist!)


Tuesday, October 12, 2010

Halloween Spiders & Web

Okay, so we are NOT American and I usually boycott halloween to make the point, but the weather has been terrible and the one time we got out to look for craft supplies we saw halloween stuff EVERYWHERE!! It appears it's getting bigger over here... so naturally the kids wanted to make something to decorate. I thought of this idea from a dress up costume Miss3 has with a spiderweb and spider made from womens stockings so thought we'd test it out. I bent a coat hanger into an octogon or at least that was my intention and then stretched half a leg of a pair of black stocking over it and tied a knot in the end to secure it. I then used PVC glue to mark out the webb and sprinkled glitter on top and shook off the excess.


Next were the spiders. I cut the feet off an opaque pair of stockings out and got the kids to stuff it with filling you can get this from any craft store, or even use the inside of a cushion insert and again secured the end with a tight knot and cut off any excess. We then trimmed pipe cleaners to size and threaded them through the bottom of the stuffed balls to creat our spiders legs. Next we stuck on their googly eyes and added "redbacks" and mouths with red fabric paint this isnt necessary but my kids LOVE fabric paint... and there we have spiders :)


We then hung our spiders from the web using fishing line and simply tied them on and now we have a spiderweb with spiders hanging above our kitchen bench all ready for halloween.


Sunday, September 26, 2010

Chore Tree

Come to my house any time and you'll find mess everywhere... mostly toys and possibly some craft of mine, and generally me telling someone to do something in a not so nice voice, which I really don't like doing. I have said for weeks now that I am tired of repeating myself and getting worked up over it so decided to make a chore chart... well, tree, in our case. Like most little ones, my kids love hands on visual aids for anything I am trying to teach them so what better than a tree to hang their daily chores on and save my yelling voice. I found my tree at my local scrapbook shop, but I'm sure there are others out there, and you could make your own type of chore tree with cardboard if needed I was lazy and also have been eyeing this tree for some time as I love the design so this was simply an excuse to have it in my home :). I got the kids involved by letting them paint the tree and talking about what we would use it for. Mr6 then helped me think up some daily chore "apples" and we were off :). It took a while to complete but I swear it was worth every second! Tonight there was no yelling and instead I had two super willing children ready to co-operate and go turn over their "apples"...  ALL "apples" have to be "eaten" at the end of the day to be rewarded.... rewards come in EXTRA flowers remember their behaviour charts? which equal extra money at the end of the week. Red apples are Miss 3's, green apples are Mr 6's.

it was my tree so I inked the edges on it ok :)

with our chore apples hung on (they hang on little hooks)


some "eaten" apples (other side of apple)


Monday, September 13, 2010

ABC's

Today I bought a laminator (don't know why it's taken me so long!) and made some quick homework pages for my kids. I am always printing them off and really, I hate to say it, but we WASTE alot of paper in this house!! So with the laminator today we made our alphabet pages, using the QLD Beginners Handwriting Font which I purchased a couple of years ago before Mr6 started school. It's around $10 to download, but I thought it was money well spent, as I have got endless use out of it. Just print, laminate and grab some whiteboard markers (medium point are best I find) and you have re-useable homework sheets :) Great for Miss3 as she is still practising her name and numbers and I plan on making a mini book to pop in my handbag to keep her busy during appointment and long drives :) and of course for her to learn

Before laminating, I marked the 'start' points for Miss3, as she sometimes get confused.

VERY proud of herself :)

Wednesday, September 1, 2010

Hair Clips

I really need to find some thing to make for boys huh?! BUT girls hair things are just so easy :) I have a thing for ribbon, but these laces were so cheap and I liked the bright colours and patterns so thought I'd test them out... I liked the funky end result.

my shoelace find :)


make a loop and glue ends together (or sew)


make a smaller loop


press in the centre and glue down to make "bows"


glue the smaller one on top of the larger one


wrap a piece around the centre and glue to create a finished bow


glue to the top of your clip
done :)


find a doll to model it on because Miss3 won't cooperate!!