An Easter tree!
Made from twigs we spray painted and stuck into an easter pail then covered in wool. The eggs were bought but you could make them by covering styrofoam eggs with tissue paper.

Easter Cupcakes
My son, who was 3, decoarted these (the icing looks odd I know!) but all you need are a packet of small hard shell easter eggs to decoarte some cupcakes with.

Bunny Ears

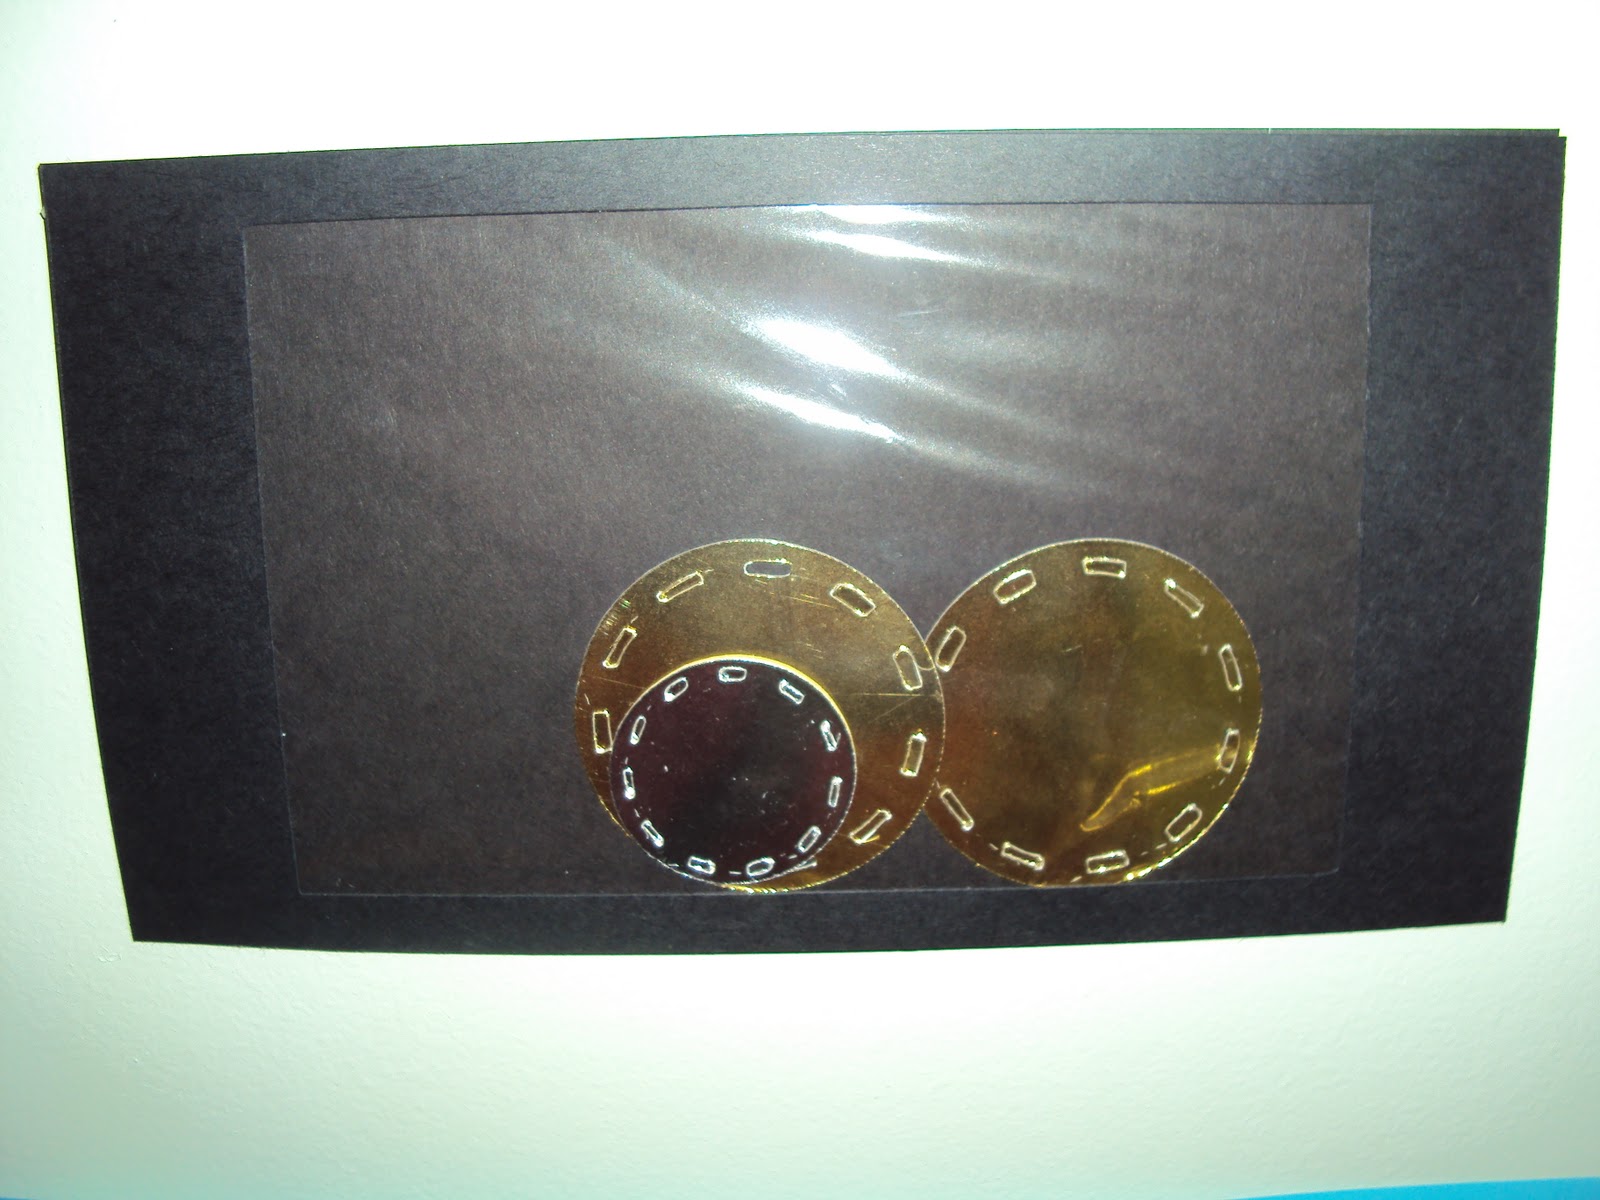
Window Decorations
Blank piece of paper, draw patterns onto it using wax candle. Paint over using diluted food colouring and then cut into egg shapes. The are so pretty with the light shining behind them and so simple to make.

String Easter Eggs
This is my favourite and they are on our table again this year, we just revamped them by adding some colourful ribbon bows :)
Blow up a water balloon. Cut lengths of string and place into a bowl of PVA glue. Coat string in glue and wrap around water balloon. Keep wrapping around balloon until you have a complete egg. Leave to dry in the sun and then pop the balloon and you have a lovely string egg to decorate with. We dyed our white string using food colur to get our coloured eggs, but you could purchase coloured string instead.


Egg Biscuits
Kids favourite this tiime. Arnotts Arrowroot biscuits, some icing (we love Betty Crocker Vanilla) and some more icing or tubes of food gels to decorate. Easy, fast, and yummy... and kids go crazy with excitement decorating their easter eggs.


Face-washer Bunnies
Lay face-washer out in a diamond, roll up starting from one corner. Fold in half, then half again and wrap a rubber band around a samll section to create the face. Pull top so that 'ears' stick out. Glue on some googly eyes and a pom pom for a nose, you can also glue a pom pom to the back for a tail. Place a chocolate egg in the back of your bunny and give to a friend HAPPY EASTER!