INVITEDbyRUK

Sunday, August 22, 2010

another Father's Day gift

yup, the first gift only took my kids a whole 20mins to make and they were bouncing off the walls to make another so we moved onto gift 2, a photo frame. We got cheap photo frames at Ikea (I think they were 3 for $5) and decorated them.

we used nails, washers, bolts, nuts & screws but you could also use golf tees for the golfing dad, or shells and even a wax comb for the surfing kinda daddy :)


use PVA glue to stick bits around your frame


Mr6 spelt out 'dad' on his frame- I thought it was a great idea!


let the glue dry (will be clear when dry) and then paint your frame


Miss3 painting her frame and enjoying every second of it


Mr6's finished frame... we just need a photo to go in it now


Miss3's


If you cant get similar cheap frames, you could try making some with paddle pop sticks... we only had 2 frames and wanted to make some for our Papa so we made these... would be good to add some magnets to the back and place on the fridge... and you dont have to out a photo in there, a drawing, painting or what you love about dad or grandpa could go in there too :)


Father's Day gifts

There are still 2 weeks til father's day, but we start early just in case :) We found this glass coaster photo set for $7.99 last week and I grabbed them knowing they'd come in handy for something. The kids got a glimpse and decided they'd be great for a present for dad. I wanted to put their photos in them, but they wanted an art piece in there for dad.

we dipped toothbrushes in watered down food colours and flicked the brush with our fingers along the head of the brush to create a colourful background for our pictures
 * warning- this is messy, but fun and kids love it!!


glass coaster with removable slot for photo


we cut a bit from our brush flicked paper, drew on it and put in into the slots on the coaster... our dad will love these and I like that we will have an art piece to look at on the dinner table too :)

Tuesday, August 17, 2010

Pom Poms

I ventured to Spotlight the other day that place is a black hold for hard earnt money!! and found these pom pom making tools... this might seem odd but I had no idea there were actual tools to make pom poms!! I just remember my mum making them and showing us how with a cardboard version. The tools were marked down so I thought I'd get them and test them out with the kids. They are no different to using cardboard the way mum did it also a more cost effective way! and with Christmas in mind I thought my kids would enjoy making them as new decorations for the small tree we put up in their room. If you dont own a 'tool' I'd suggest using cardboard and simply cutting out a donut shape (size depends on how big you want your pom pom), and then  folding it in half and wrapping the wool around it. Then you have that gap on the outer edge to cut along, it would work much the same way as the crescent shaped tool we bought. Oh, one last thing... dont purchase the wool I did... it looked lovely but made a huge mess as we cut it (too fluffly) and was more mop like than pom pom like... just regular wool works much better!!

tool 1


instructions


tool 2


instructions


Mr6 and tool 1 all wrapped up ready to cut


floppy pom pom


Even Miss3 could do it :)


smaller pom pom worked better with our flimsy wool

Thursday, August 12, 2010

Coloured Sugar

I made coloured sugar today to decorate some cupcakes. I wasn't sure how much I'd need, but I made way more than I needed for the cupcakes so had to think up another use... and cocktails came to mind :) I made the kids sugar rimmed galsses for their mocktails with juice and lemonade and then by accident tipped some sugar into the glass which changed the colour of the drink and made it really pretty! I LOVE when things like that happen... mistakes that look good :).
All you need is some white sugar, a zip lock bag and a few drops of food colouring mixed in. Seal the bag and massage the sugar until all the food colour is massaged into it. I'm thinking this could come in handy when the kids have eaten all the sprinkles and I go to decorate something!! Sugar keeps for ages too so I'll pull it out when soime cookies are made, and possibly to sprinkle on ice cream treats for them :)

Marshmallow & coloured sugar flowers on cupcakes


see the blue at the bottom? Looked nicer in the light but you get the picture.

Tuesday, August 10, 2010

Funky Birds

Here's our entertainment for today :) Mr6 had no school thanks to a stupid EKKA holiday even though I doubt Sunny Coast kids would go today so he got to come to my weekly craft shop. Today he found the styrofoam balls and I grabbed some extra feathers because he was determined to make a Kookaburra after we heard them singing this morning. Miss3 wanted to make a Macaw... I don't know that our creations look like they should, but we had fun making them and used mostly things we already had (minus the balls).... googly eyes, glue, markers, push pins, feathers & a little cardboard.Was a great activitiy for both age groups, not really messy because I said no to painting them and it gave us another opportunity to talk about the features of birds, and how these help them to function in their environments... kids don't know they are leaning when it's like this  SHHHH.


we stuck push pins underneath so they wouldnt roll around when we were colouring them... they made good feet too :)

our funky birds

** I think these balls would make great fish too, if you look closely they have an almost scale like pattern when you colour them... but I'd love to coat them in shiny sequins and add some cardboard fins and fish lips... and maybe I'll allow paint next time :)

Monday, August 9, 2010

Wedding Invitations- BEACH

I love beach weddings!! My own wedding was planned for the beach, but it rained and I dont care what they say about it being 'good luck' I was devastated so things didn't quite go the way I wanted. Living so close to the beach we see so many beach weddings and I sometimes wish I could have a redo, but instead I will just pretend and make the invites I would like for a redo and will one day force on my only daughter. Next on my list will of course be the frangipani look...


Sunday, August 8, 2010

Crafters Block

Yup, I am having a crafters block, I think I'm just exhausted and in scrapbooking and card mode... when this happens the paper plates usually get pulled out for the kids (so be warned) and animals of some kind are made. The kids actually love it but I feel guilty for some reason when I whip them out because they are so fast to put together. Anyway... here's some fish for you and a half baked turtle because at that point the sequins were knocked over the table onto a glob of glue... he will reappear later :)


Sunday, August 1, 2010

Mock Stained Glass

Today we made fake stained glass windows. All you need is some coloured cellophane (cut up into small bits), cardboard and clear contact. As we all know, I am no artist, so my design is very basic, but for those with better drawing skills these would look alot nicer I think. My mum actually came to visit, last year, with some beautiful (and very complex) Christmas patterns to do this with, but I shall save them for closer to Christmas to show you all ;). So, here is our stained glass butterfly:


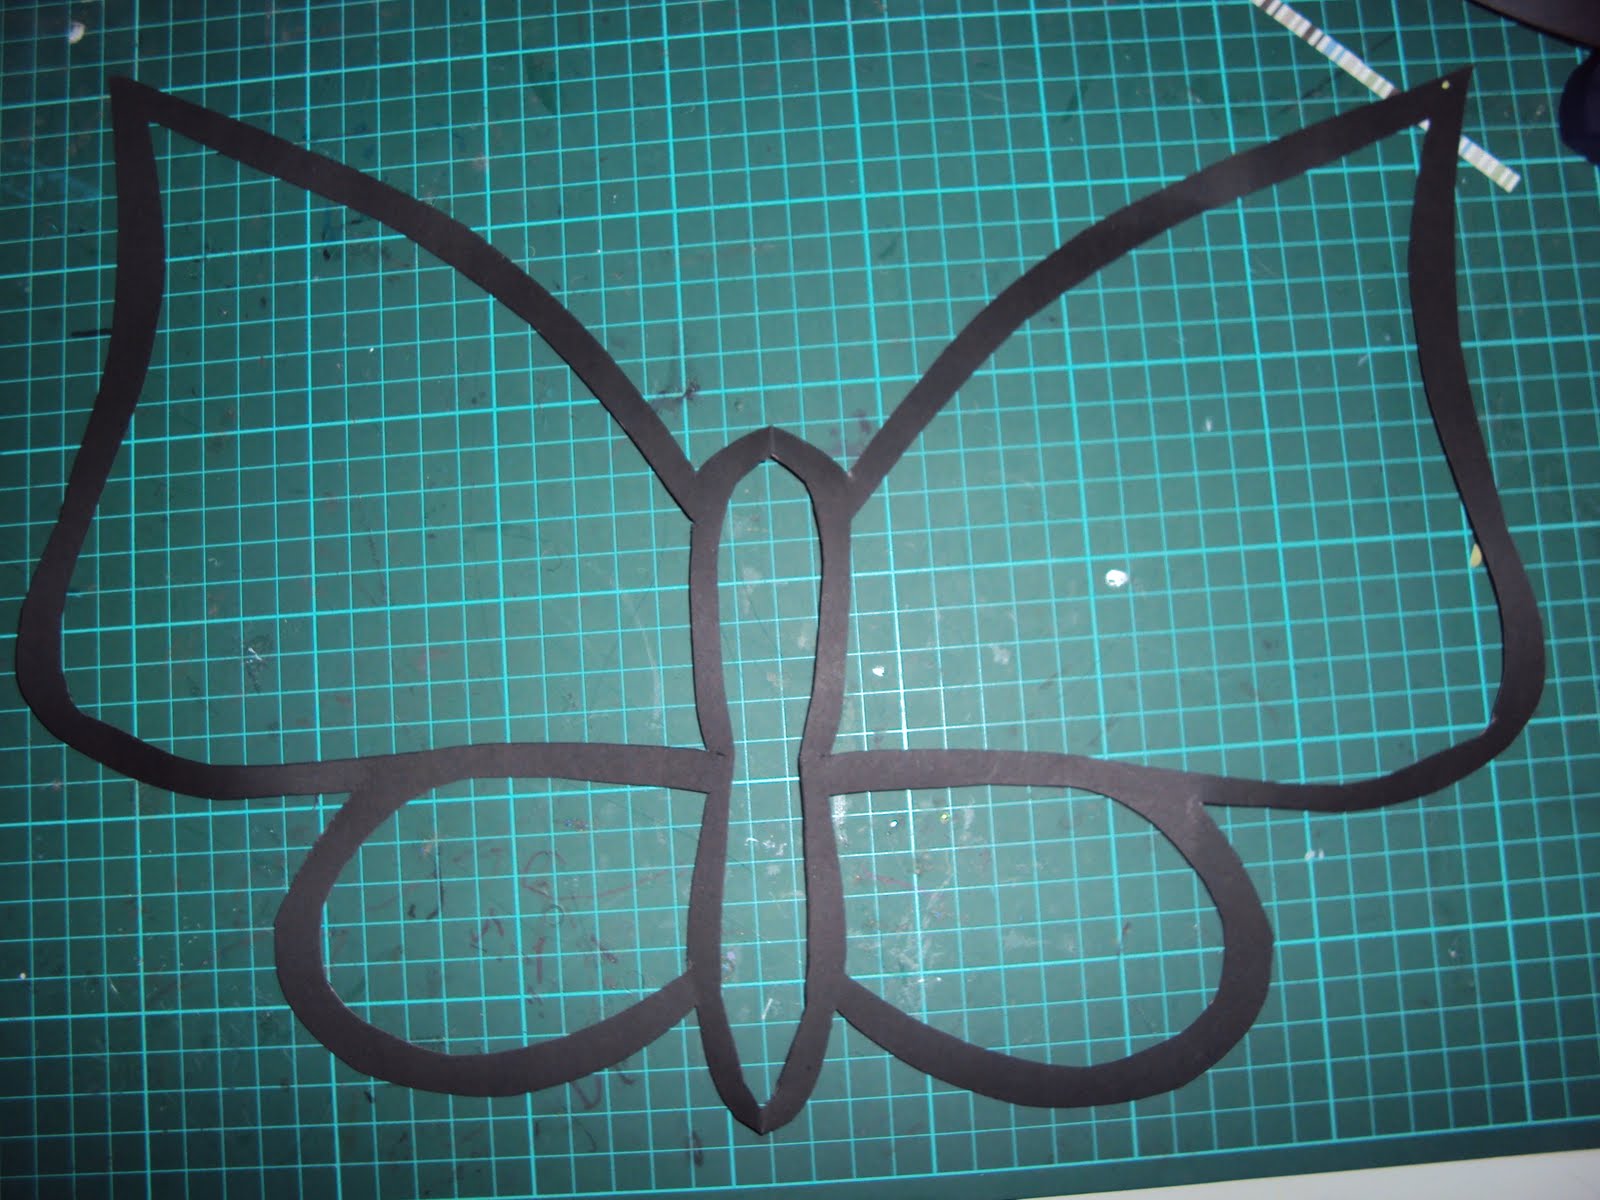
Fold cardboard in half and cut out butterfly wings (so it will be symmetrical)
with a sharp blade cut a 'boarder' out


so you end up with this and it opens up to look like this


Measure out some clear contact slightly larger than your design

Peel the backing off it and stick your design onto the contact

Place it sticky side up on a flat surface and trim any excess around the edges (*you could leave a small amount around the edge to ahere it to a window for later, but I prefer to use blutac*)

Decorate your design with small pieces of coloured cellophane until there are no spaces left
*you could cut cute little shapes out if you are supermum and not tired like I was
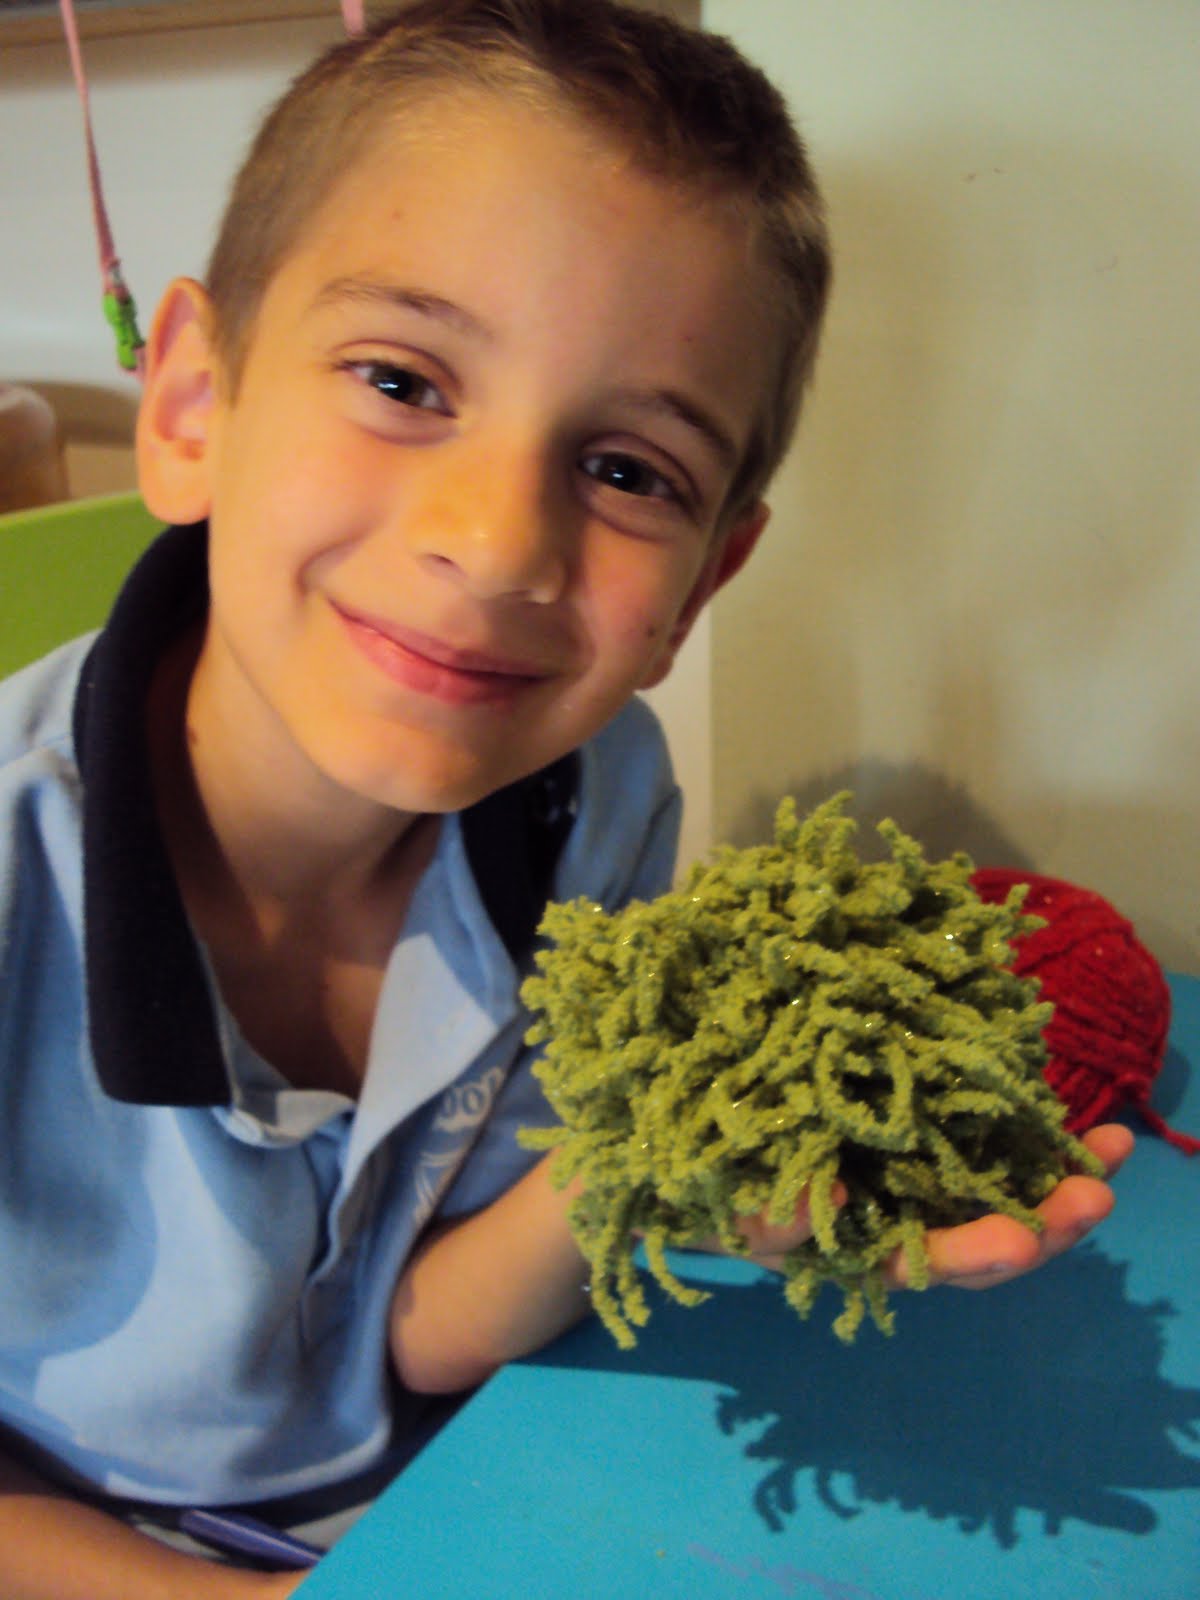
Mr6's end product

Miss3's

I also did the kids names, but wasn't prepared for my right thumb to be throbbing and numb after hand cutting each letter with a blade knife... OUCH! Lucky I only have 2 kids with relatively short names... if you have more DON'T try this at home because it REALLY hurts!! Yet another reason for me to buy that magical Cricut machine don't you think??